UNICOM 7.x (IBM SPSS 7.x / Dimensions Interface Installation Guide)
Communication between the INVADE Solution (dialler) and UNICOM (Known as IBM Data Collector (DC) SPSS etc) is accomplished by using the dialler interface component called InvSPSS.The InvSPSS component, which comes as install.zip, has to be installed on the Dimensions server following the instructions provided in this guide
NOTE. The associated ZIP file will be made available to the CATI Team
NOTE if you are just upgrading the invSPSS.dll then go to the Files subdirectory and run the invSPSSInstall.msi. If after installation you wish to roll back, use Control Panel to uninstall the recently install package and re-install the package you want to revert to.
Step-by-step guide
- Decompress InvSPSS archive using WinZip or any other archiving software able to decompress ZIP archives. If you require uncompressed installation script please contact Invade support.

- The decompressed archive should provide the file structure presented in the screenshot below.
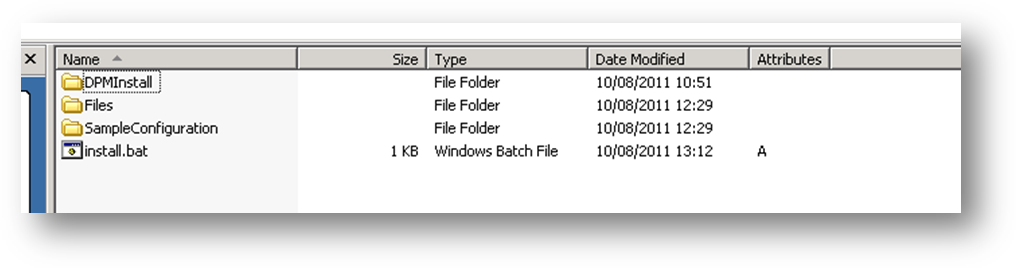
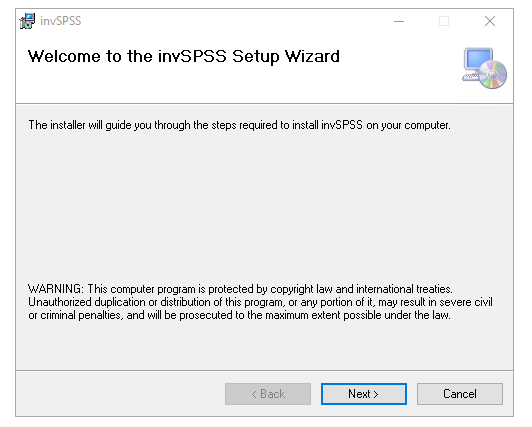
- Launch install.bat batch script. This runs the invSPSSInstall.msi. This will perform a registration of the invSPSS.dll automatically
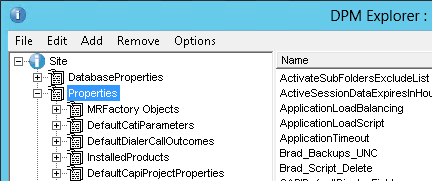
Make sure the system is up to date with service packs. if the registration of the invSPSS dll fails check the system event viewer for an entry. This may indicate missing system dlls or other issue. Report the event viewer error to Invade- Launch DPMExplorer (in C:\Program Files\IBM\SPSS\DataCollection\7\DDL\Code\Tools\VB.NET\DPM Explorer.Net) navigate to Site->Properties then via menu ‘Edit->Import to Selected node’ import the DPMInstall/Invade_SiteProps_Import.xml file.
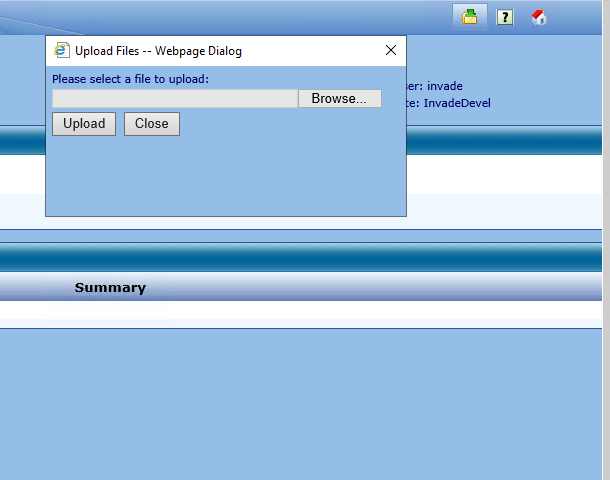
- Add the Invade dialler instance to Dimensions. This is done in the Dimensions Interview Server Administrator. On the top menu select Phone → Dialer Administration. On the top menu in there, select the "upload files" icon, Use the dialog to select the DialerConfiguration.xls from within the installation file set (see fig below). Once the dialler appears in the list it should be made active using the control features in the admin application. See the dialler configuration section below to see how the dialler's location/address is selected. Should you later need to change any of the values uploaded from the DialerConfiguration.xls, they are available in the Dimensions DPMExplorer under Properties → DialingConfiguration
Sample dialler configuration
Sample DialerConfiguration.xls file is provided in SampleConfiguration folder under main installation folder.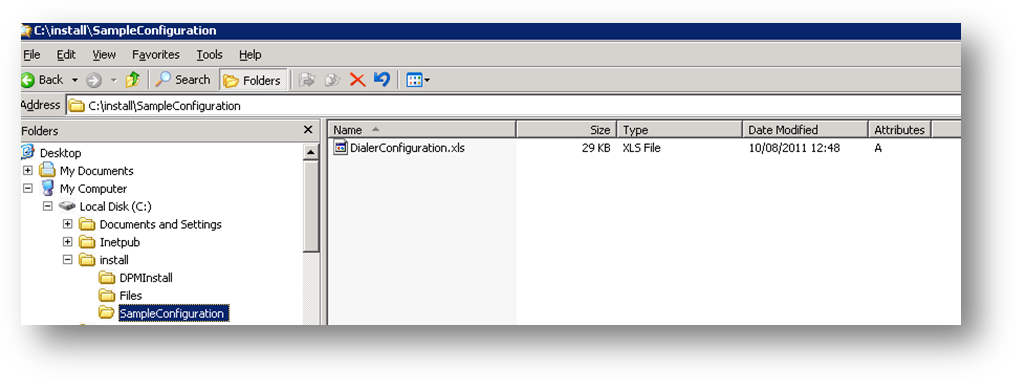
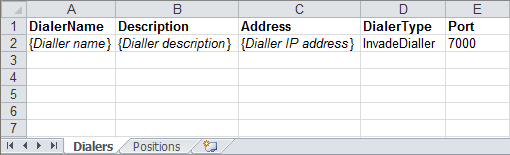
In the “Dialers“ worksheet, the dialler credentials must be provided as shown below. DiallerName, Description, Address, DiallerType and Port are required fields. If you have any additional columns in the worksheet they can be ignored and doesn’t have to be removed.
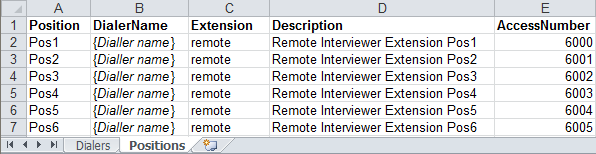
Interviewer positions are configured in “Positions” worksheet.
• “Position” column represent agent’s position name which will have to entered when the interviewer is logging on to the campaign.
• “DiallerName” column must correspond to the DiallerName configured in the “Diallers” worksheet.
• “Extension” column signifies extension type, with Invade dialler the only possible option is “remote”
• “Description” column signifies friendly agent description which can be used in IBM DC.
• “AccessNumber” column signifies interviewers telephony endpoint extension number. In some situations, the agent will have to enter access number before logging on the IBM DC campaign.
Checking Current Version
- Locate the "InvSPSS.dll" file (usually in C:\invSPSS).
- Open the "Properties" of the file (right click).
- Select the "Details" tab.
- Select the "Product version".
The version of the "nvblog32.dll" file can be checked using the same process.
There may be multiple installations on several machines in a cluster.
Updates
A basic update should involve just a replacement of the invSPSS.dll and any supporting dlls. Anything extra more specific to a given release will be indicated when an update/release is provided
To perform an update: on any server on which invSPSS is installed perform the following steps
Perform steps 1 and 2 as above
Make a back up copy of the c:\invadeSPSS directory
Stop the IIS service using the IIS admin tool
at this point either
a) From version 1.21.6.14 onward the invSPSS dll is installed via an msi file. This resides in the update directory of the package. To update the dll simply locate the msi file on the server and run the msi.
b) If earlier than1.21.6.14, copy any updated files from the Update directory (of the new invSPSS version decompressed in step 2) to the c:\invadeSPSS. Enforce file replacements.
Restart IIS service.
Log an agent on to test success of the update.
Related articles
UNICOM® Intelligence - Gain Insight into People's Attitudes, Preferences and Opinions
https://www.teamblue.unicomsi.com/products/unicom-intelligence/#
Note. Most of the Knowledge base is converted from the IBM SPSS site. As new features, new sections have been created